
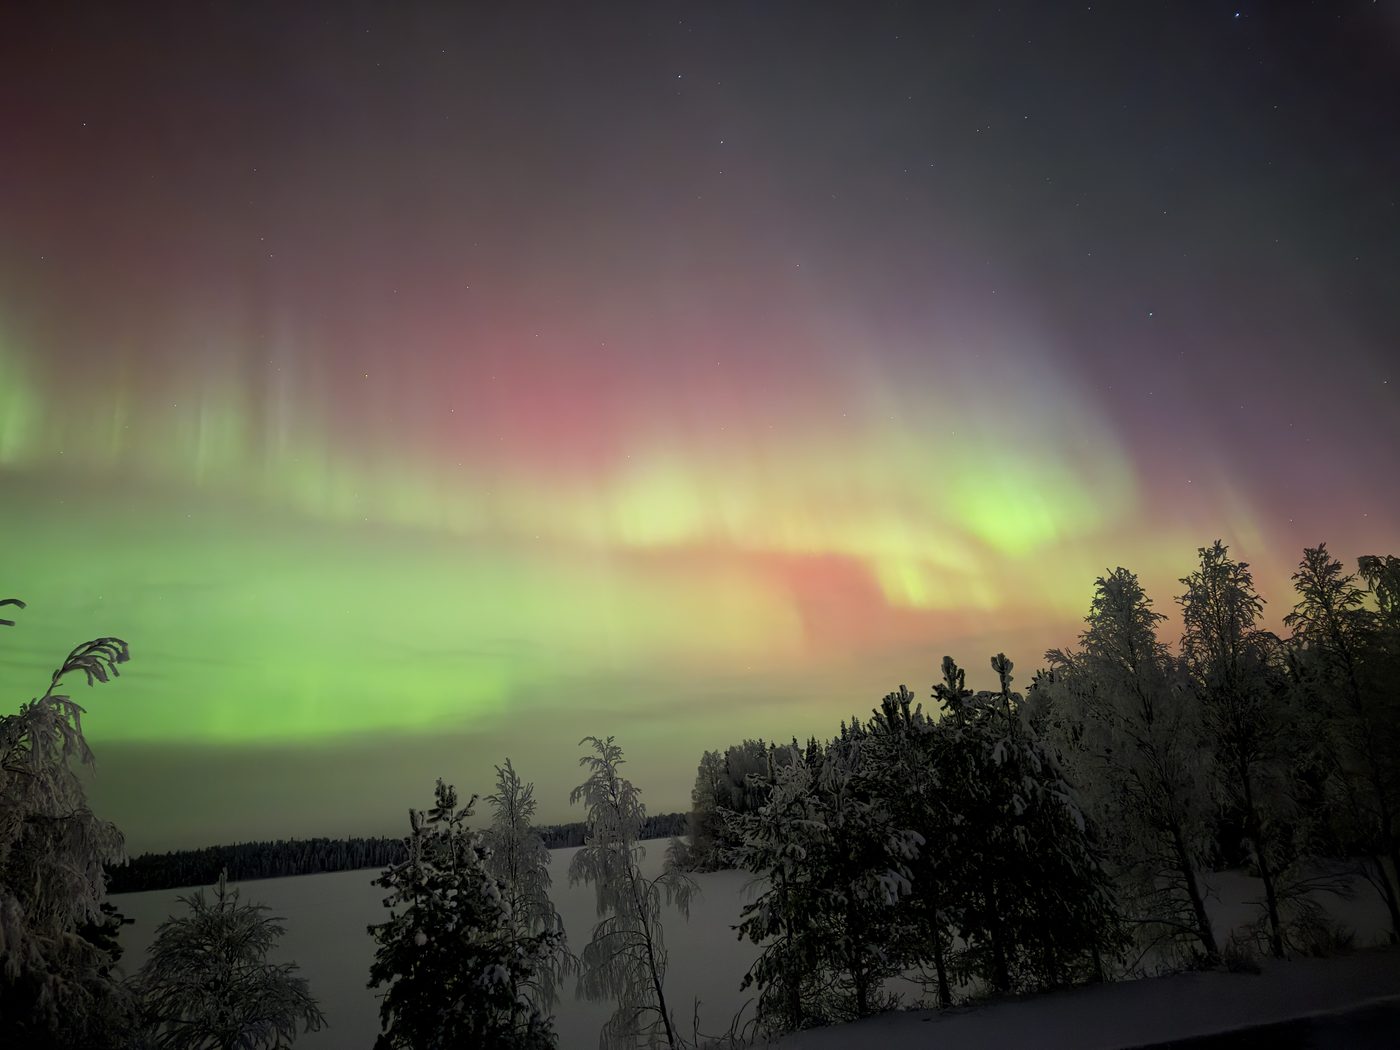
How to photograph the Northern Lights — exact camera settings, phone technique, the gear that matters in Arctic cold, and how to compose a shot worth framing.
Photographing the aurora is easier than most first-timers fear. The sky does the spectacular part; your job is simply to hold the camera dead still, gather enough light, and nail the focus. Get those three things right and even an entry-level setup will bring home images that look nothing like the frustrated blur people expect.
The three settings that decide every shot
Aurora photography comes down to shutter speed, aperture and ISO working together. A reliable starting point on almost any camera is ISO 1600, aperture f/2.8, and a 10-second shutter. From there you react to the sky: a slow, structureless glow tolerates a longer shutter (15–25 seconds) and higher ISO (up to 3200), while a fast, dancing display needs a shorter shutter (3–6 seconds) so the curtains keep their crisp edges instead of smearing into a green wash.
Focus in the dark
Autofocus is useless against a black sky, so switch to manual. Point at the brightest star or a distant light, magnify the live-view image, and turn the focus ring until that point is as small and sharp as possible — that is infinity. Lock the ring so it cannot drift, and check your very first frame at full zoom before shooting fifty more out of focus. This single step rescues more aurora photos than any other.
Getting a good shot on your phone
Recent flagship phones (iPhone 14 and up, Pixel 7 and up, and similar) shoot the aurora surprisingly well — realistically around 70% of what a dedicated camera captures. Turn on Night mode or a manual/pro mode, set the longest exposure it offers (often 3–10 seconds), and — crucially — brace the phone on a mini-tripod, a wall or a bag. Tap to focus on a bright star, dial the exposure down slightly if the green blows out, and use the timer to avoid wobble.
Gear that earns its place in your bag
A sturdy tripod is non-negotiable — long exposures and handheld are mutually exclusive. A wide, fast lens (roughly 14–24mm at f/2.8 or brighter) captures the sweep of a display and gathers light quickly. A remote release or the two-second self-timer stops the shutter-press from shaking the frame. And most important in the cold: spare batteries kept warm in an inside pocket, because lithium cells drain fast at −20°C and a warm swap will revive a “dead” one.
Composition: give the sky a foreground
The images people frame are not just green sky — they are green sky over something. A snow-laden pine, a frozen lakeshore, a lit cabin window or a lone figure adds scale and story. Place the horizon low to hand most of the frame to the aurora, and look for still water or fresh snow to mirror the color. Always shoot RAW so you can lift shadows and correct color later without the picture falling apart.
A quick field checklist
Tripod up and level; manual focus set to infinity and verified; RAW enabled; start at ISO 1600, f/2.8, 10 seconds; timer or remote on; batteries warm with spares; a lens cloth for frost. Sort those before the display peaks and you will spend the best moments shooting rather than fighting menus in the cold.